You closed the deal on your sale, and now it’s time to start working on your AV project for your client. Let me show you how you can use Find Boxes Projects to manage the various aspects of your job and keep your team organized.
Before we touch the project, we must ensure all our team members have accounts on Find Boxes. Without accounts, they will not be able to see our project and will not have access to the project resources. Administrator-level users can see who can access our Find Boxes environment by selecting the “Update Users” link on the settings page. If we need to add users, you can invite people by clicking the “Add Users” link. Once we verify which users need access, we can make the project.
Starting Your Project

Once on the “Projects” page, click the “Add Project” link to create our project. We need to know six things to make our project: name, pull date, execution date, end date, whether this is a permanent installation, and whether all users on your Find Boxes environment need access. The name of your project will be displayed to users who have access to see the project. Our pull date is when the team members will come to the storage area and pick up the items needed for the project. Our execution date is the actual start date of our project. The end date is when we forecast the project to be completed. Don’t worry if you don’t have exact dates; you can always edit them later. If you mark a project as a permanent installation, all items checked out will be removed from your inventory upon the project’s archiving. Lastly, if you uncheck “All Users Have Access,” only the users listed under your project’s team section will see your project on the “Projects” page.
After you create your project, the next step is to add your co-workers to the project’s “Team” section. The team section is vital because it allows access to your project and controls who gets emailed from the project. Your project will email your team members on the morning of the pull date to remind them of the project. Also, if you write a note for the project, Find Boxes will only notify the users on the team. Once your team is set, you can add the needed items to your project.
Inventory and Your Project
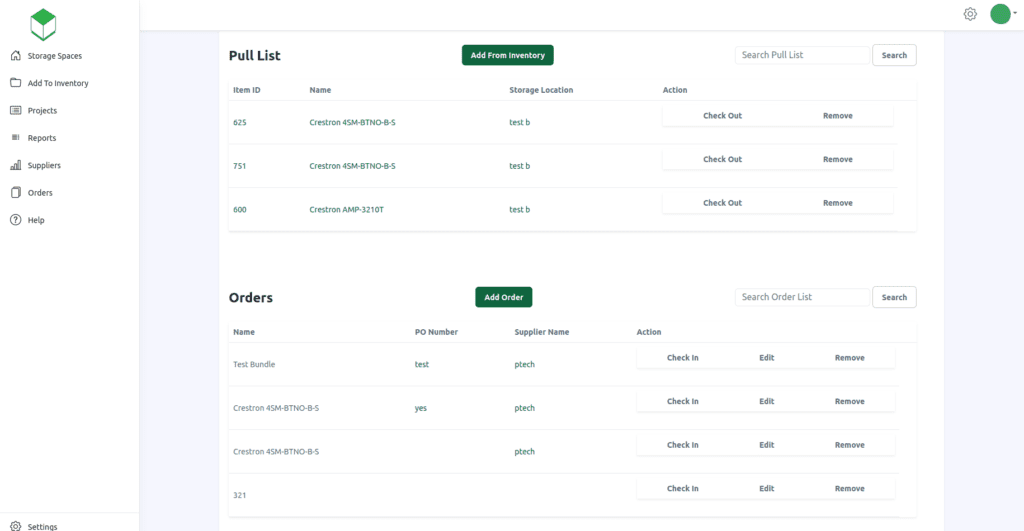
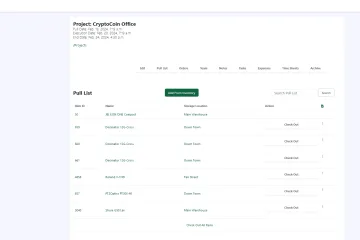
You’ll see the project’s pull list on your project’s main page. Your pull list contains all the items from your inventory that you want the team to take to the job site. You can add items from your inventory to your pull list by clicking the “Add From Inventory” link. Find Boxes will only allow you to add items that are available on the project’s listed dates. On the pull date, your team members will “check out” all the items on the pull list. Checking out equipment will help ensure that nothing is left behind.

You can also track equipment purchases you made for the project. To add items you bought, click the “Add Order” link. When the order arrives, have your team members “Check in” the equipment. Checking in the equipment will add the item to the pull list and place it in a storage room.
Staying Informed
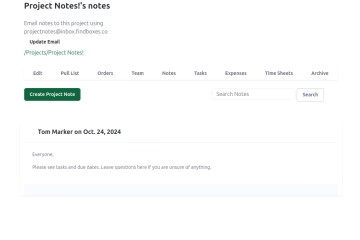
Another great feature of projects is project notes, which gives you a place to communicate with your team. You can share instructions and diagrams directly with your team in a central location. Notes allows for file uploads but are limited to 10 MB per file. You can even email notes directly to the project by emailing the email address on the notes page. Project Notes removes the need for messy group text messages and gives your team an easy way to find critical information.
Incorporating these Find Boxes features into your AV job will give you an organized and informed team. If you don’t have a Find Boxes account, you can get a one-month free trial with no credit card needed to sign up! Click here to get started with Find Boxes.

