Hi. How can we help?
Please go to our new documentation page. Click here. Information on this page maybe out of date.
Inventory
You need to understand a few things to get the most out of Find Boxes’ inventory tools.
First, you need to set up your storage rooms. The Find Boxes storage rooms are a virtual representation of where you house your gear. All items must belong to a storage room.
Second, in a storage room, you will see item categories. Item categories are specific items, like a Shure ulxd4 g50, but don’t directly represent the item you’re trying to track. Think of item categories as the metadata of all the items in the linked storage room that share the exact name of the item category. When you click on an item category, you’ll see all the instances of that item in that storage room with visual cues about their status.
If an item has a green circle next to its name, then it is available. If it has a yellow circle by its name, then it has been checked out. If it has a red circle by its name, then it is out for service/repair.
All item categories have a QR code associated with them. You can print this QR and place it on a warehouse shelf so team members can scan it to see the status of all the items belonging to that item category.
Third, items represent the object you are trying to keep track of. When you click on an item, you see upcoming orders, notes, and any attributes (PO number, Mac, and more) attached to the item.
Items also have a QR code associated with them. Printing the QR code and placing it on the carrying case or the object itself is recommended. The item’s QR code lets your team members quickly look it up.
Booking
Knowing who has your gear is important. The booking feature allows you to keep track of who has your gear and reminds them when to bring it back to its storage room.
To use this feature, select an item from an item category and press the “Check Out” button.
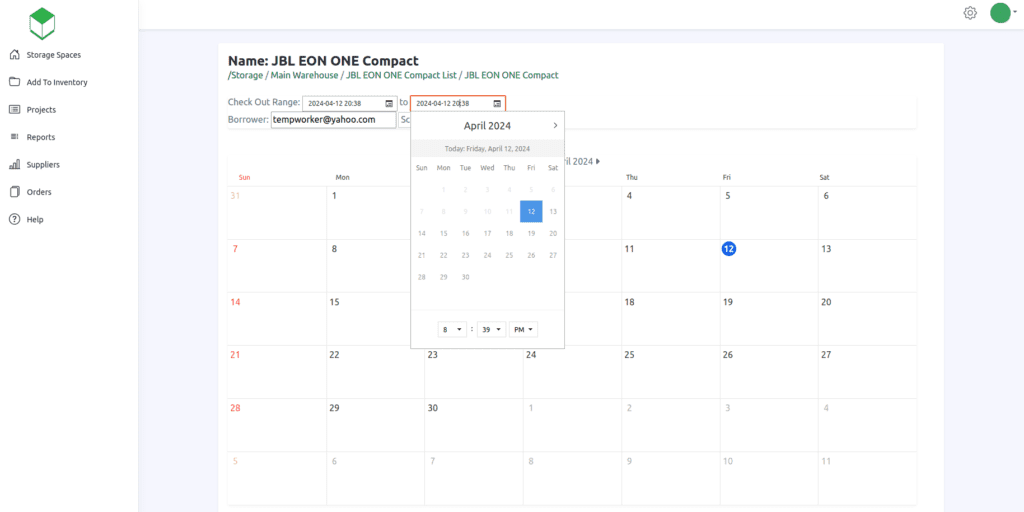
Once on the Check Out page, you can select the dates that the item will be loaned out for and enter the email address of the person borrowing the item. Keep in mind that you can enter any email address for the borrower, this doesn’t have to be a Find Boxes user.
If the item is not checked in by the check in date, then a reminder email will sent every day to the borrower until the item is returned.
If you want a list of items that are past due for checking in, you can run a report. You can learn more about reports here.
Low Count Alert
If you are in the AV installation business, you probably have some relatively low cost items that you buy in bulk and don’t want to adjust the count every time you remove one from your storage ( eg HDMI cable or a Cat 6 patch cable). In these cases, you may do complete counts of these items every two weeks or at another interval. You can set a limit on the item category to notify your organization’s purchaser of the item’s low quantity status.
Once you set the limit on the item category, you can click on the reports tab and select the “Low Inventory Items” report. This will email the person responsible for purchasing these items to let them know that they need to be restocked. This feature only accounts for when items are completely removed from the inventory and alerts will not be sent out in cases where all items are out for rental.
Add Items
To add items to your inventory, click the “Add to Inventory” link in the navigation. You can search our database for item names or create custom names. Once you find your item in the item database, click “Quick Add To Inventory” to enter the item’s quantity, storage room, and other metadata.
Bundles
Item bundles allow you to add items from a storage room into an individual custom item. Bundles block the schedule of the items inside of the bundle, so the only way to check out the contained items is to check out the bundle.

To create a bundle, enter a storage room and click “Create Bundle.” Give the bundle a name and assign a storage room. Once the bundle is created, you can add items from the bundle’s storage room by clicking “Add Items to Bundle.”
Add Custom Items
Can’t find your item in our preloaded equipment database? No worries; you can add it yourself. On the “Add to Inventory” page, click the button “Add Custom Item.” Just add the name of your item and click “Add to Inventory List.”
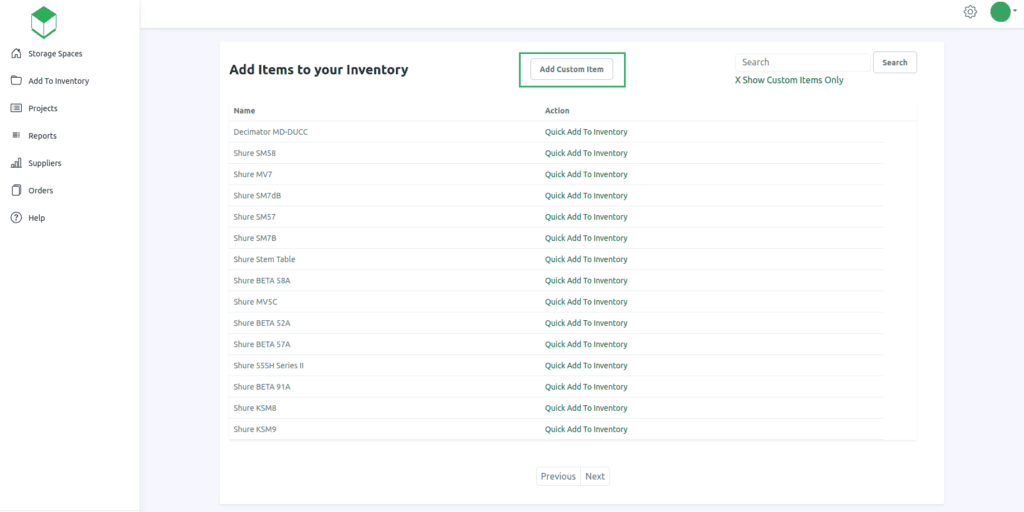
If you select “Add to Storage,” you will be forwarded to the “Quick Add to Inventory” page. From this page, you can directly add the item to a storage room.
Verify Items
Verifying items allows you to track when an item was last counted/inventoried. If you click on the “Verify” link on an item, the system will log the date you checked it. Suppose you want to verify multiple items of the same item category. In that case, you can click the “Verify All Items” link to update the verified date for all items of that type.
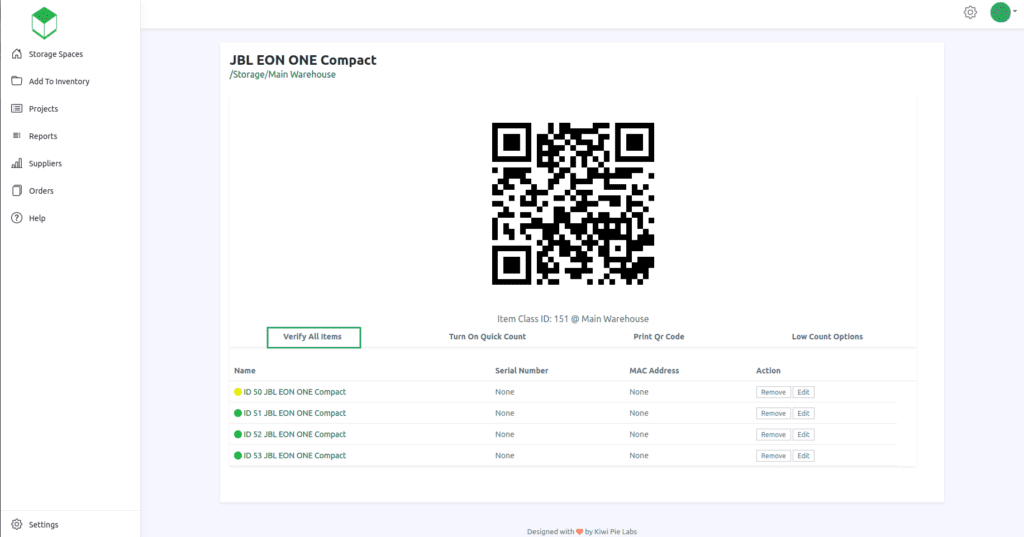
Under the “Reports” tab on the navigation menu, you can run the “Verify Status” report to see when the last time an item was verified. You can pick the date range of older than seven days, 30 days, or 60 days
Projects
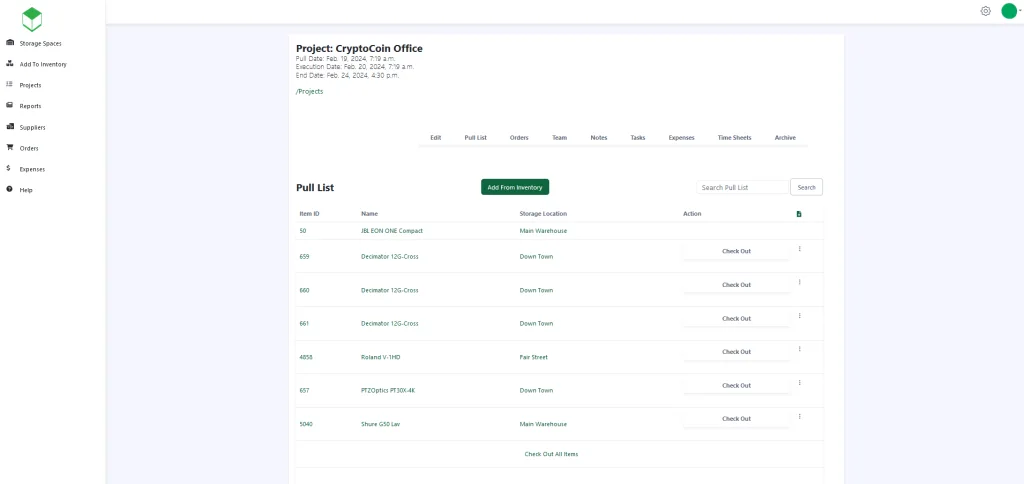
Find Boxes Projects is a way to keep all the information about your job in one place. Having a central repository for your team messages, files, orders, and inventory will help ensure that your team has all the information they need to complete the job.
Notes
The notes section of a project is the central repository of files and team member communications.
You can forward emails to the notes section by copying the email address listed in the notes section.
Files can also be uploaded directly through the interface. There is a limit of 10 MB per file upload.
Expenses
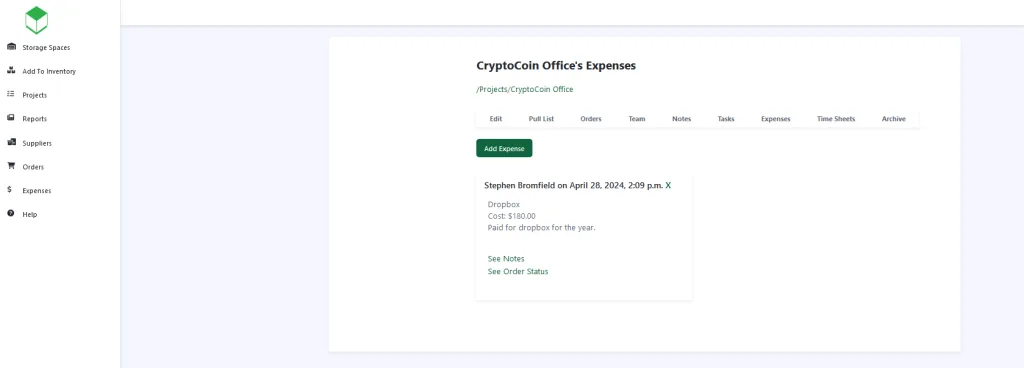
You can track expenses related to your project. Click the expense tab on a project and fill out the form with the related information. File uploads allow you to attach any supporting documentation about the expense.
You can add and view additional comments on the expense over time by clicking on the “See Notes” link. If you want to comment, click the “Add Expense Note” button on the “See Notes” page and complete the expense note form.
When adding orders to your project, you can link them to expenses already created. Linking orders to an expense will give you another way to filter orders and see their delivery status.
If you don’t want to attach the expense to a project, click on the “Expenses” link on the main navigation. All expenses submitted to this form are placed in a general category.
Also, note that only admins or the users who created the expense can delete it. All other users will not have permission to remove expenses.
Team Members
You can limit who can see a project by adding users to it. By default, all account users have access to a newly created project. To limit access, you must disable the option “All Users Have Access” option either on the edit or the project creation page.
Orders
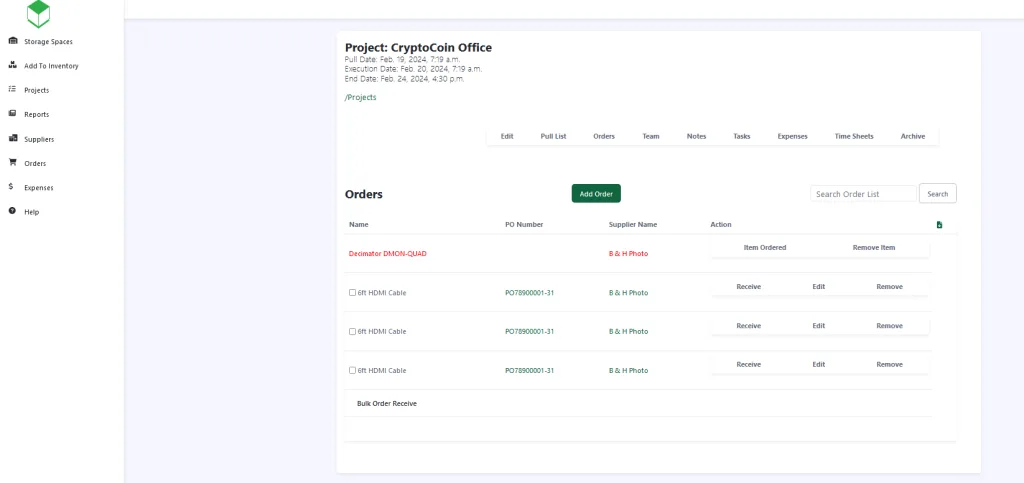
You can track orders associated with a project. When an item arrives, it can be checked in. The check-in process assigns the item to a storage room and automatically schedules it for the project.
Wish lists
Team members can list items they wish to purchase for a project by adding an order to the project and marking it as a wishlist.
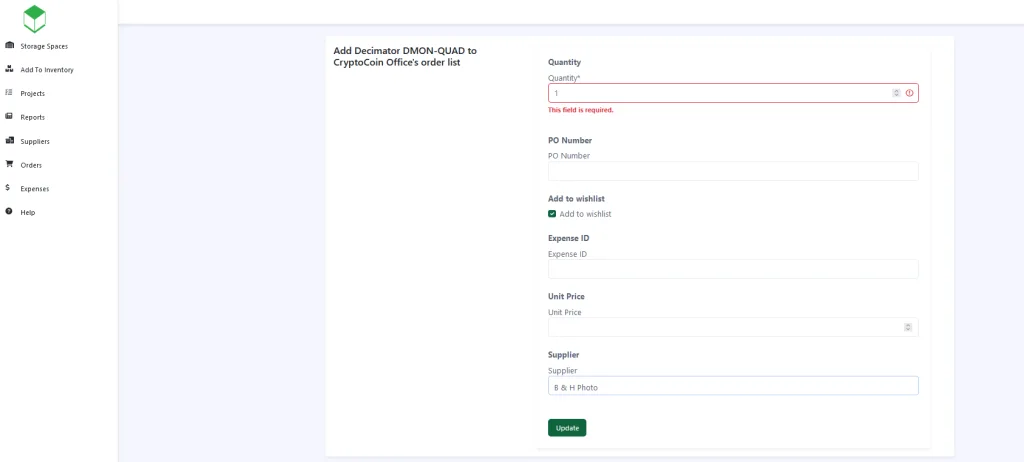
Wishlist items appear first on the project’s order page, highlighted in red, and on the user’s home page upon logging in. The project purchaser can delete the wishlist items if they are deemed unnecessary or mark them purchased if they are bought. If an item is marked bought, it will become a regular order and can be tracked until check-in.
Archiving
Once your project is complete, you can archive it. It will no longer show in your active project list, and no further changes can be made.
If the project needs to be active again, click the “Archive Project” link under the Projects tab and locate the required project. Once the project is located and clicked on, you can click unarchive, and the project will be active again.
Supplier
Setting up suppliers helps your team know who to contact for ordering and what items that supplier carries. Suppliers must be set up if you wish to assign orders to them.
Orders
You can track general orders or orders for projects. Checking in an order will add the item to your inventory.