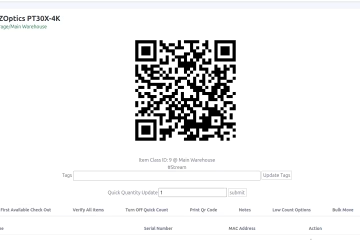
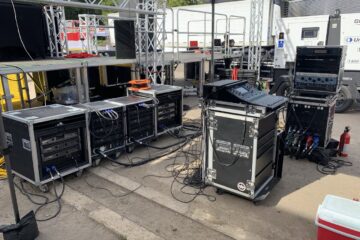
If you use barcodes for your inventory, you’re making your life harder than it needs to be. Ideally, we want a fully web-based system, so no special hardware is required, and no additional software needs to be installed on your device. With barcodes, you need special hardware or installed software to scan them. QR codes and RFID tags play well with web-based systems and keep barriers to doing inventory low.
While QR codes are flexible, they have one disadvantage compared to RFID tags: They are slower to process. Consider this: If an item comes into the warehouse, you open your camera app, scan the QR code, and launch the webpage to process your return. It takes a small amount of time, but compared to tapping the RFID tag and launching the inventory site, it just feels barbaric. So, today, I will show you how you can use RFID tags to help manage your inventory.
What are RFID tags
Before we proceed, let’s define what an RFID tag is. RFID is “radio frequency identification,” which wirelessly transmits data to a receiver. For our case, we will be talking about passive RFID tags as they do not require a power source to send data and can last for more than ten years. These tags come in three different frequency ranges:
- 125 -134 kHz data transmission range of 7cm
- 13.56 MHz data transmission range between 8cm and 1 meter
- 856 MHz to 960 MHz data transmission range of about 16 feet
Remember that no matter which tags you use, your phone’s ability to scan RFID tags will be limited to a few cm for privacy and security reasons. Also, no phone I know of has a built-in 856 MHz RFID reader. For our use case, we will use the 13.56 Mhz tag. Using a 13.56 Mhz tag will give us flexibility if we want to add a long-distance reader or use our mobile devices.
Using RFID Tags
I recommend using this tag. It uses the 13.56 MHz frequency and can store up to 144 bytes of data. Now, the question becomes, “What data do we store on this RFID tag?” The answer is simple: a web URL. On Find Boxes, every item in your inventory has a unique URL to check out or check in the item. Find Boxes places this URL on the QR codes you see in your accounts. The URL has the structure of https://app.findboxes.co/showitem/<ITEM_ID/. You can get item IDs in two different ways. The first way is to browse to the item on Find Boxes and look at the ID below the QR code. The second way is to go to the storage room where the item is saved in Find Boxes and click the export button. The export button will start a download of a CSV file with all the items in your storage room. The first column of each line on this file is the item’s ID on that row. Once you have the item’s ID, you can complete the URL structure listed above.
Adding Data to the RFID Tag
Now that we have the data we want to add to the RFID tag, we can start writing to it. To do this, we need to install an app on our mobile device. Click on “Write / X Bytes”.For iPhone, Android, and computers, there is an app called “NFC Tools.” The app is free to download.
To add our URL to the tag, open NFC Tools and select “Add a recording” button under the “Write” menu.
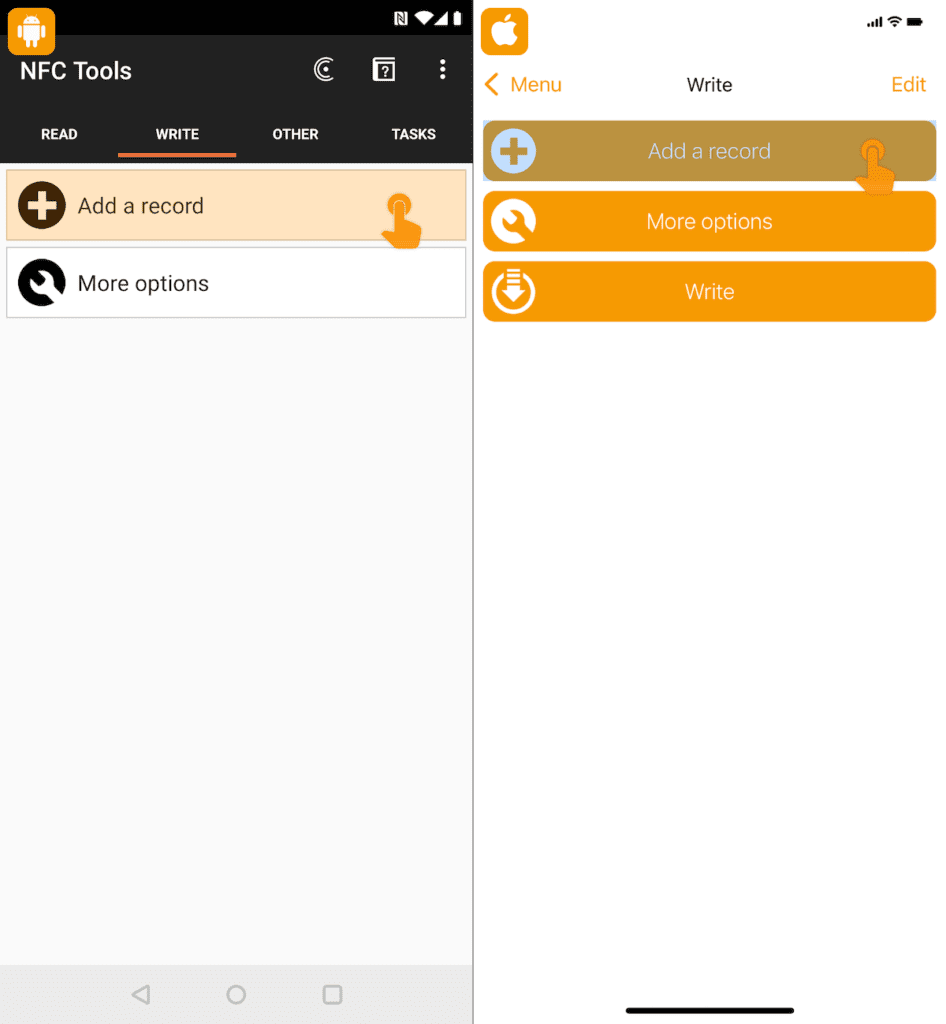
Then click on the “URL / URI” button.
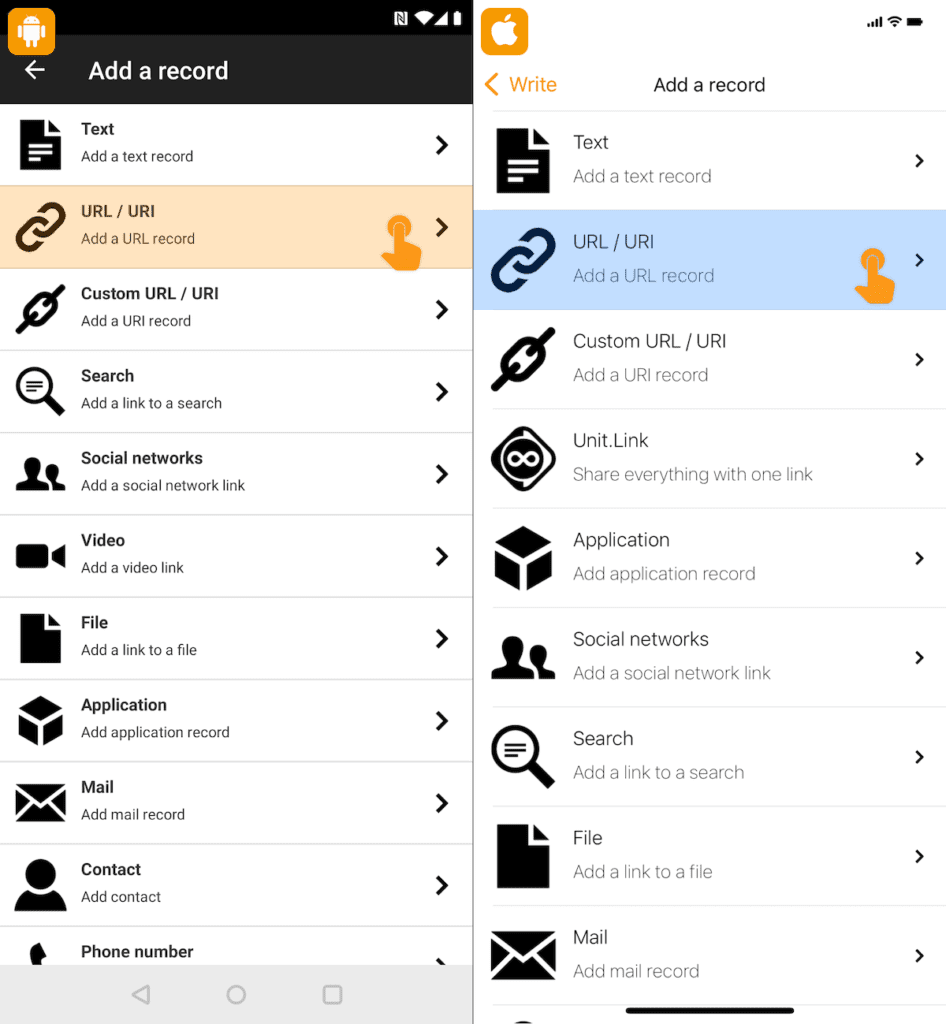
Enter the URL for the item and then click on “Validate.”
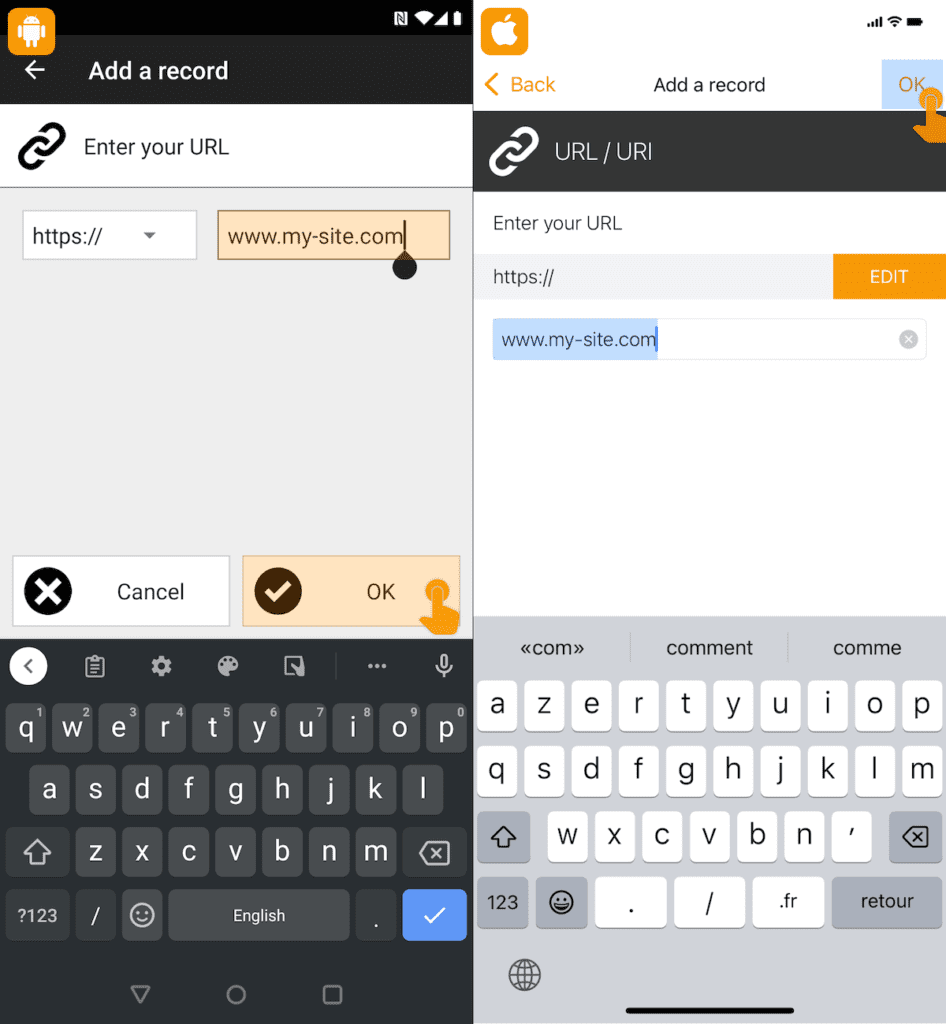
Click on “Write / X Bytes.”
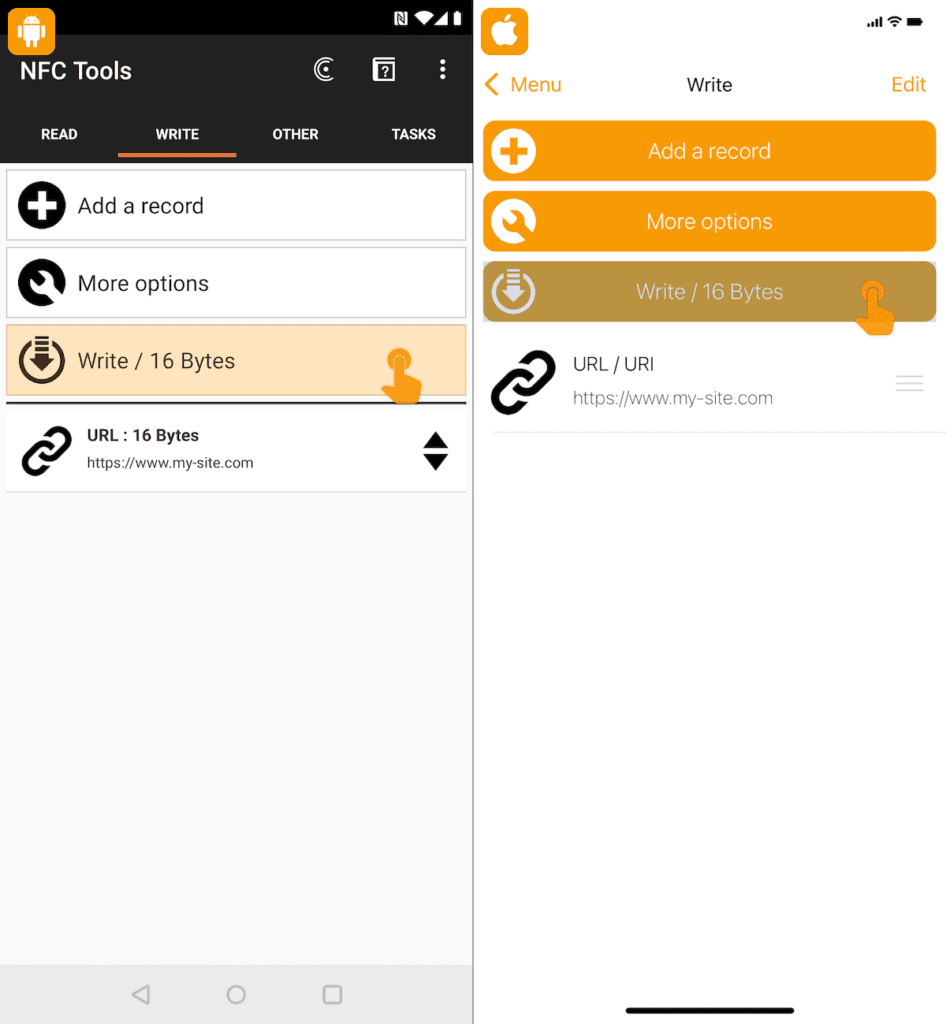
Lastly, move your device close to the RFID tag and wait for NFC tools to prompt that the process is complete.
Now that your RFID tags are ready, you can place them on your equipment. Depending on the number of items, tagging all of your equipment may be time-consuming, but the time savings afterward are worth it. If you are looking for inventory software, Find Boxes offers free first month with no credit card needed upon sign-up. Check us out!
